DIY Composting Toilets Made Simple: Follow Our Fun & Easy Tutorial
Contents
Introduction
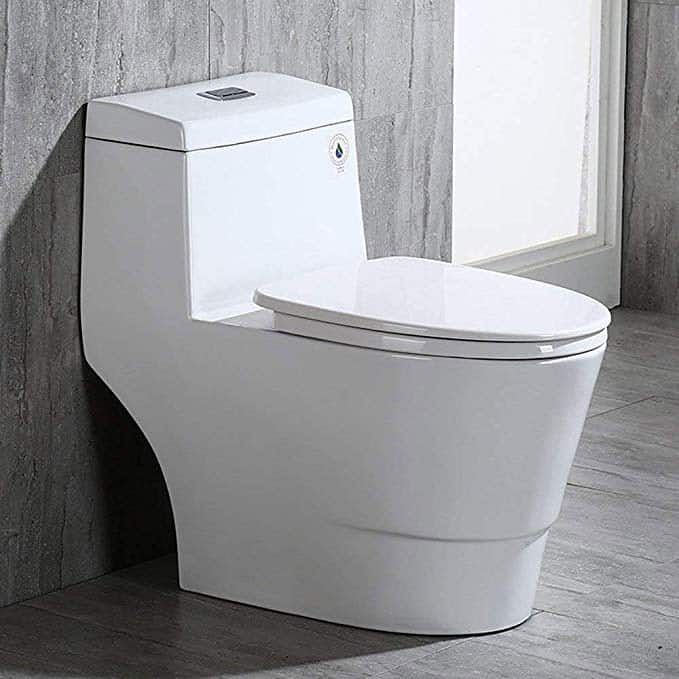
Many people enjoy modern plumbing because it eliminates waste, foul odors, and germs and bacteria that most would rather not have to deal with. However, it does come with numerous cons. The worst one is the sheer amount of water consumed by the toilet with each flush. According to the EPA, toilets account for nearly 30 percent of an average home’s indoor water use.
An increased interest in environmentalism and the conservation of fresh, potable water has caused many to turn away from contemporary plumbing to seek more natural alternatives. One of the most popular is the compost toilet, which breaks human waste down into a soil-like material called humus. Some manufacturers create compost toilets that can be bought directly from a store or online retailer like Amazon. However, people don’t always want to spend money. In this case, individuals can opt for the DIY compost toilet.
How a Compost Toilet Works
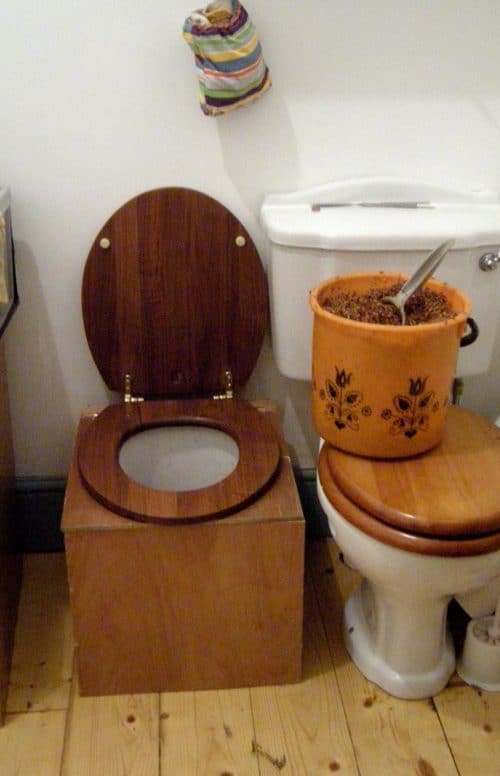
A basic DIY compost toilet works by users layering a scoop of a carbon-rich material, such as dried leaves, sawdust, or straw, on top of human waste after each use. This replaces the standard flush of a modern toilet. The cover material helps control odors and gives composting microbes the carbon they need. In a bucket system, the bucket is not where the composting finishes. When it’s full, you empty it into a dedicated, covered outdoor compost bin and let it sit for a long time.
Treat that material carefully. EPA notes that home composting toilets usually don’t get hot enough to kill pathogens quickly, so time matters more. Wear gloves, keep the bin away from wells, streams and food gardens, and check your state and local rules, which may require the end product to be buried or removed by a licensed septage hauler.
While buying a commercially made compost toilet sounds easier, building a DIY version is great because the user can add extra features or customizations. These DIY models can be as simple or complicated as the builder wants. The most basic version of a DIY compost toilet involves a five-gallon bucket and some sort of wooden container/seat. How does it work?
How to Build a DIY Compost Toilet
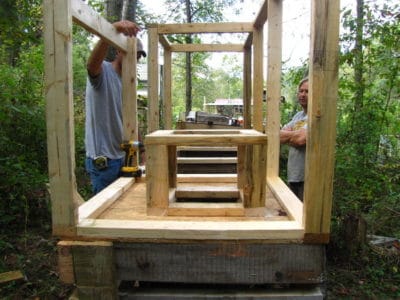
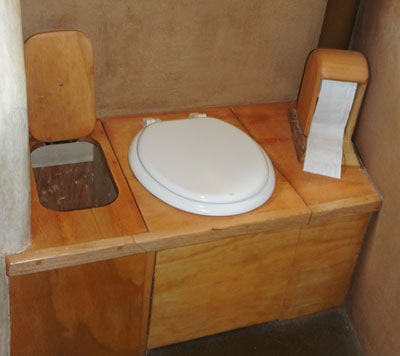
In this first model, builders need to get a reasonably sized bucket and flex their carpentry skills. The easiest thing to do is buy some wooden boards from a nearby hardware store and cut them to form a box. Size the box around your bucket rather than using fixed numbers. A typical five-gallon bucket is roughly 12 inches across and about 14 inches tall, so the inside of the box needs to be a bit larger than that. Aim for a finished seat height of roughly 16 to 18 inches, close to a regular toilet. These boards should be sanded down to prevent splinters or slivers and can be finished with a sealant of the builder’s choice. However, before adding the finish, the builder needs to cut a hole in the top large enough for someone to use the bathroom into the bucket, which will be placed inside the wooden box.
To be more accommodating for the compost and users alike, a door or method of removing the bucket of compost is necessary. There are two main ways people do this. They either make the hole where waste enters large enough to remove the bucket, or they build a small door at the front to remove the waste.[1] Some people even leave out a panel entirely for easy access.
How to Combat Odors
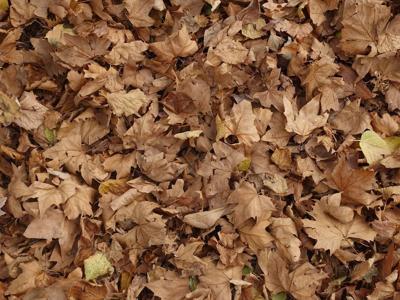
To combat the smell, users of the DIY compost toilet need to have a decomposable carbon-based material on hand to layer over the human waste inside the bucket. Again, the most common materials are dried leaves, sawdust, and chopped straw, the same kinds of bulking agents EPA lists for composting toilets. These aren’t products that tend to come from the store but can often be found out in the yard. Individuals who already compost outside will have an easier time getting their hands on items like dried leaves since they can be taken from the outdoor stash. Sawdust is typically the easiest material to find since some places like farming and hardware supply stores might sell bags of it. It can also be purchased online. Use sawdust from untreated wood only, never pressure-treated lumber.
So, users of the DIY compost toilet need to keep some carbon material on hand to prevent odors. A fan system can help carry smells outside, but it works alongside the cover material, not instead of it. A fan also dries the waste. That helps with odor, but composting microbes need some moisture to work, so don’t expect a fan to speed up composting on its own.
DIY Compost Toilet and Fans
To install a fan, many people who make a DIY compost toilet simply plug in a basic fan and point it towards the compost bucket from the interior of the wooden box hiding the waste. This is the least advanced method but also one of the weakest. For someone who wants something a little more effective, they will need to use their construction skills once more and start to add some modifications to the house as well as the toilet.
The best type of fan setup will require a length of PVC or plumbing pipe that is connected to the interior of the makeshift compost toilet’s box. This length of pipe needs to travel from the interior of the box, up to the house’s wall, and then out through the roof or wall through a screened vent that will release foul odors. To encourage the air to move, builders can choose from several types of fans. Some are metal turbine vents that spin on their own when the wind blows, encouraging the air inside the box to travel up the pipe and out. Other builders of DIY compost toilets, though, recommend using a small low-voltage computer fan installed in the length of pipe to draw air up and out. These are inexpensive to buy and run. Any new roof or wall penetration may need a permit, so check with your local building department.
Conclusion
A DIY compost toilet has many practical benefits for the environment and people’s wallets. Users save money on water and get a unique piece of furniture for their bathroom. They can also help keep the environment healthy and use less clean water. Just handle the finished material safely, keep it away from food crops, and follow your local rules.
What’s Next
Now that you know how to build a DIY compost toilet, you can get all of the materials and supplies you need to begin your new composting adventure! For more information about composting toilets, check out this link. Good luck with your build!
Sources
- Water Efficiency Technology Fact Sheet: Composting Toilets, US EPA
- Residential Toilets, US EPA WaterSense