DIY Toilet Repair: Fix That Running Toilet
Contents
 If your toilet is running, it can waste a huge amount of water every day, pushing up your water bill to an unacceptably high level. Not only that, but the sound of constantly running water can drive you mad. The good news is that a running toilet is pretty simple to fix and will not only save you water and money but also a lot of stress. There are a handful of basic issues which could be causing your toilet to run, but you can easily fix them without having any specialist knowledge and without using any specialist tools. The key is to find the root of the problem and then you can move on to fixing it.
Possible Problem 1 – Flapper Problems
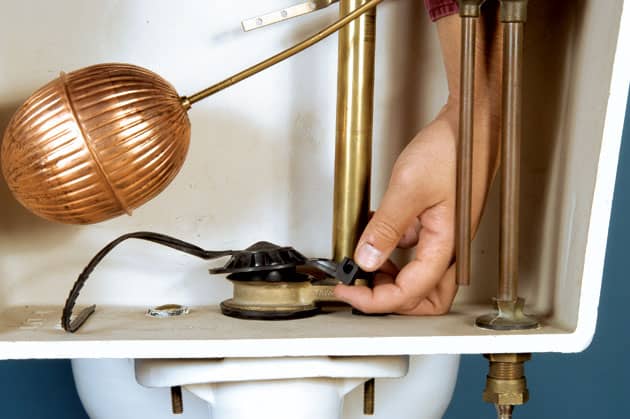
The first possible issue that you may be experiencing is a problem with your toilet’s flapper.
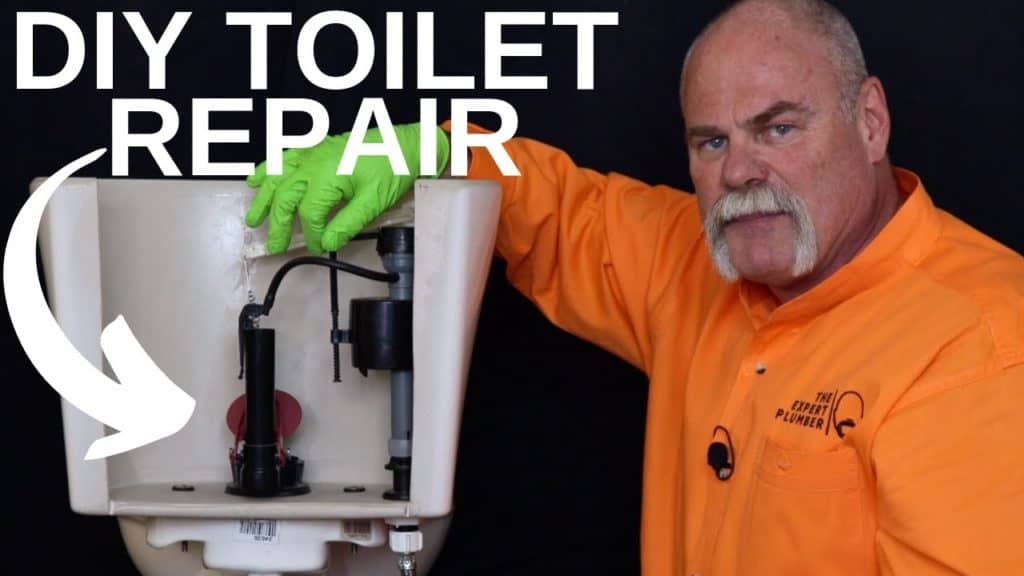
- Turn off the water at the shutoff valve behind the toilet (turn it clockwise) and drain the tank by flushing. Once you have done this you can inspect the toilet’s flapper. The flapper is a rubber round-shaped seal which prevents the water from draining out of the tank and down into the bowl. When the toilet is flushed, a chain pulls up the flapper, letting the water in the tank rush into the bowl.
- Take the tank lid off your toilet. Hold it firmly as it will be made from heavy ceramic and could easily break if dropped or knocked over. Place it down on a towel on the floor and look inside the tank.
- If the chain which pulls up the flapper is either too short or too long this could cause a problem. If it is excessively short, the valve will be pulled upwards causing the water to constantly drain. On the other hand if it is too long it is possible that it is getting trapped under the flapper preventing it from sealing. If the chain is too short, unhook it from the flush lever and reattach the hook 1 or 2 links farther down the chain to give it more slack. However if the chain is too long, move the hook to take up the extra links, or trim some of the links from the top of the chain using wire cutters, reattach the hook back to the top link and then reattach to the flush lever. You want a little slack when the flapper is closed, but not so much that the chain can get caught under it.
- Take out the flapper and check for any warping, disintegration, mineral deposits or discoloration.
- If the flapper is dirty it may not be able to seal properly and this will cause the toilet to run. Clean it by soaking it in vinegar for half an hour and then scrub to dislodge the buildup before putting it back into place. Also wipe the rim of the flush valve opening the flapper seals against. Don’t use bleach-based cleaners here, and never mix vinegar with bleach.
- If the flapper is worn, buy and fit a replacement.
- Turn your water supply back on and see if the problem is resolved.
Possible Problem 2 – Water Level Problems
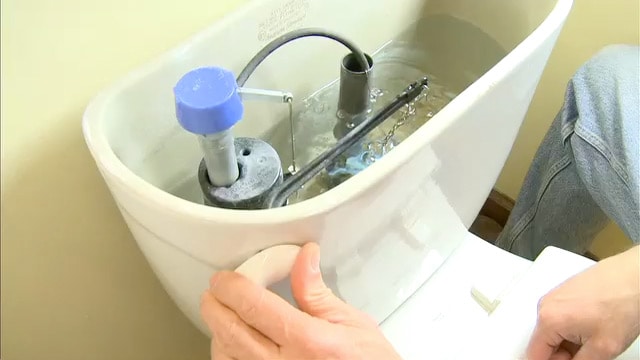
If the flapper has not caused your running toilet, the next thing to check is the toilet’s water level. If it is too high, water will constantly be draining into its overflow tube.
- When the tank is full and the water is running, check your overflow tube and see if water is constantly draining into it. If it is, lower the float to adjust its water level.
- Your float will either be a ball float on an arm or a cup float that slides up and down the fill valve. On a ball float, turn the adjustment screw where the float arm meets the fill valve, or gently bend the arm down, to lower the float.
- If you have a cup float, look for an adjustment screw or rod on top of the valve, or a clip on the side. On many cup-style valves, turning the screw counterclockwise lowers the float. Make small changes and test, since designs vary.
- Flush your toilet, allowing the tank refill with water. The water should stop about 1/2 inch to 1 inch below the top of the overflow tube, or at the water line marked inside the tank.
Possible Problem 3 – Fill Valve Problems
If neither the flapper nor the water level are the problem, the third thing to try is the fill valve.
- Turn off your water supply and flush the toilet. Absorb all of the water that remains in the tank with a sponge until it is completely empty.
- Put a towel down, then unscrew the coupling nut which secures your water supply line to the bottom of the tank. Most can be loosened by hand or with pliers.
- Remove the locknut under the tank which attaches the fill valve to your toilet and remove the valve.
- Buy a replacement in the same style or replace a ball valve with a cup one.
- Install your new fill valve and snug the locknut, about a half turn past hand tight. Connect your water supply line and tighten its nut by hand plus a little more. Don’t overtighten plastic nuts or the tank, since they can crack.
- Connect your refill tube to its nozzle on top of the fill valve. Clip it to the overflow tube so it drains into the tube, with the end above the water line.
- Using your manufacturer’s instruction, adjust the float so that it is at the correct height. You can use a tape measure to check the distance from the bottom of the tank.
- Turn your water supply on and allow your tank to refill with water. Check your water level, making sure that your fill tube is not in the water. Check if the water is still running. If it is, you can alter the height of the float until it stops. Flush the toilet and then allow it to refill before flushing it once more to test.
- Once the toilet no longer runs, put the lid carefully back on the tank.
As you can see, these three common problems can easily be rectified by most homeowners, even if they have no previous plumbing experience. By simply following these step by step instructions you can often save yourself the cost of calling out a plumber and cut your water bills in one fell swoop. If the shutoff valve won’t close or the tank itself leaks, call a plumber.
If you have problems with your throne and looking for products that you can use for repair, check out this link.
Sources
- How to Fix a Running Toilet, Family Handyman
- Residential Toilets, US EPA WaterSense